How To Use the TOUGH GUN Neck Checking Fixture
NOTE: The following instructions are for G-405. Other fixtures are similar.
Step 1:
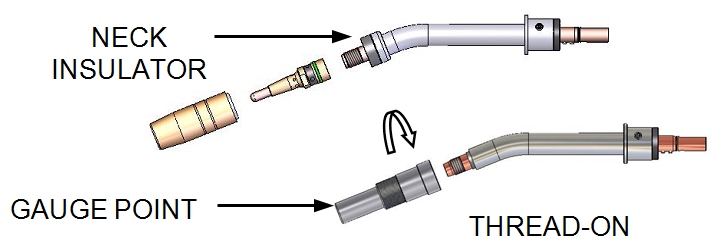
- Remove consumables; nozzle, retaining head and neck insulator (with the exception of TOUGH GUN I.C.E.® components).
- Install the gauge point into the neck.
Step 2:
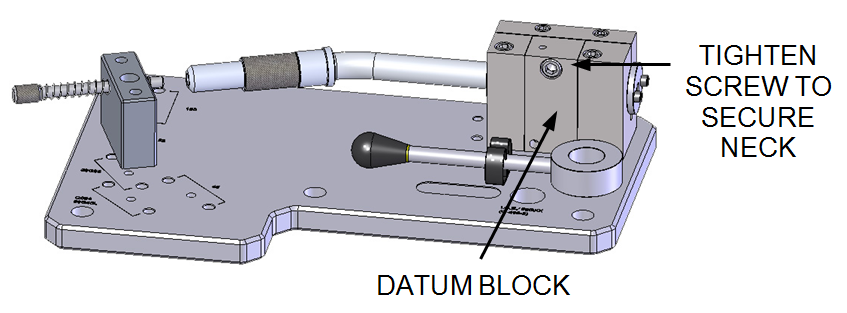
- Slide the neck completely into the datum block, aligning keys on the neck to the keyway in the datum block.
- Turn the neck completely clockwise against the shoulder.
- To secure the neck, use a 5/16-inch Allen wrench to tighten the socket head cap screw (SHCS) on the front of the datum block.
Step 3:
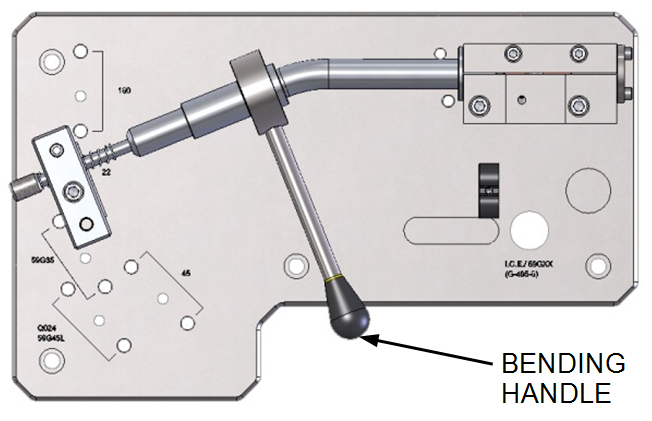
- Push the check pin toward the gauge point.
- The check pin should insert into the mating hole on the gauge point.
- Slip the bending handle onto the gauge point and bend until it is aligned with the check pin.
- Remove the neck from the datum block and gauge point from the neck.
- Reinstall the consumables.