
How To Install the AutoLength Pin
IMPORTANT NOTICE: The AutoLength™ Pin is one component of the QUICK LOAD® Liner AutoLength System. This pin is designed specifically for use with QUICK LOAD Liners from Tregaskiss. Do not attempt to use with any other type of liner.
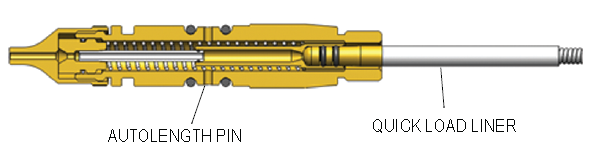
AutoLength Pins look the same as standard power pins, but can only be used with QUICK LOAD Liners.
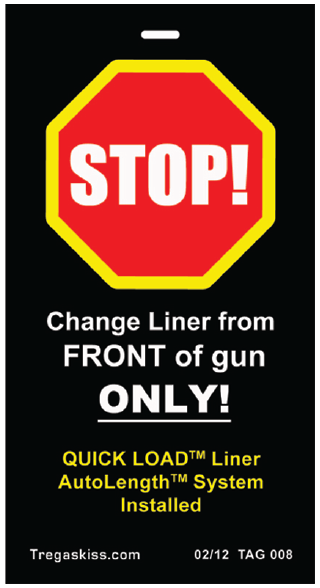
Since it is difficult to distinguish between the two from the outside, it is highly recommended that you install TAG 008 (shown right) near the rear of every gun with the QUICK LOAD Liner AutoLength System installed.
Initial Installation:
- Remove the gun from the wire feeding unit.
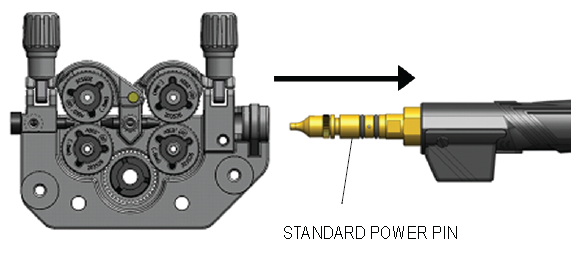
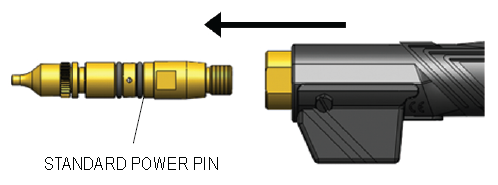
- Remove current power pin from the gun.
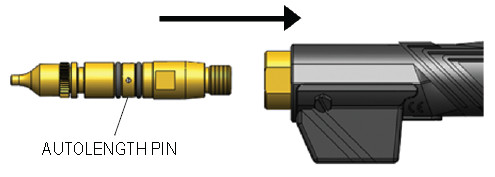
- Replace the power pin with the AutoLength Pin. Torque to 18 ft.-lbs.
- Feed the QUICK LOAD Liner into the gun through the FRONT of the gun until it engages with the retainer inside the AutoLength Pin.
- IMPORTANT: Push QUICK LOAD Liner into the gun until the liner will not go forward any further and hold it there (it will be pushed in by approximately 1 additional inch). Using the liner gauge, trim the QUICK LOAD Liner with 3/4″ (20 mm) stick out. After trimming, the liner will stick out of the neck by approximately 1 3/4″. This is normal; The liner will be pushed back into the neck when the consumables are installed.
NOTE: Liners trimmed too long or too short can cause wire feeding problems. Be sure to use your liner gauge as instructed to trim the liner to the correct stick out.
Click here for more information about the QUICK LOAD Liner AutoLength System.
INS074 REV 11/12