How To Install AccuLock S Liners
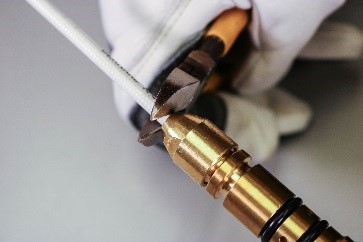
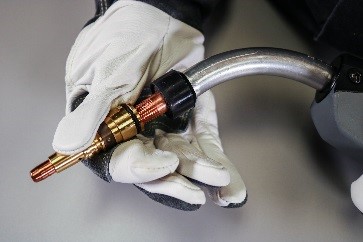
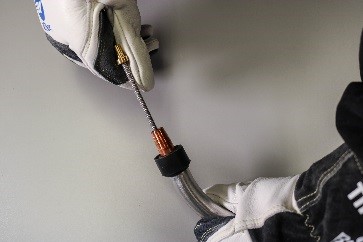
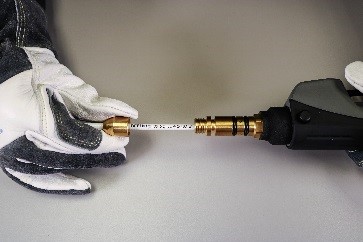
Step 1
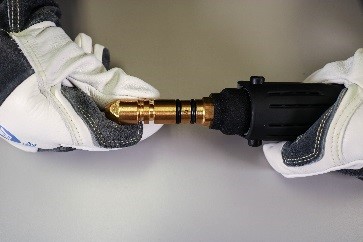
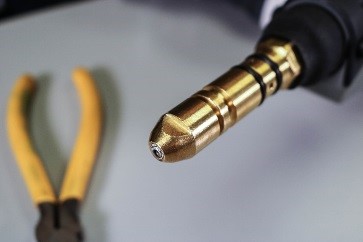
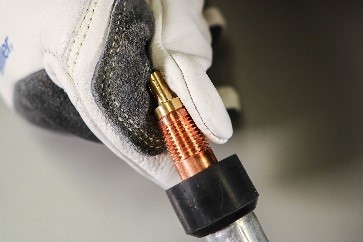
Step 2
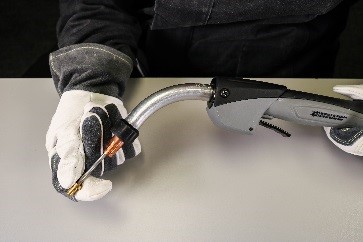
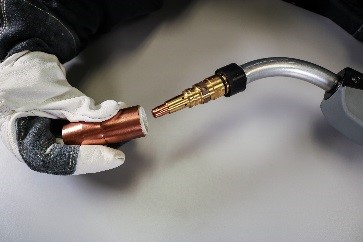
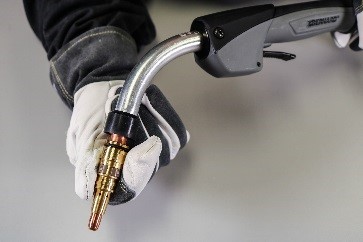
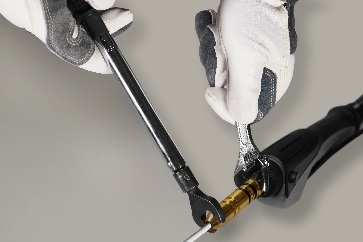
Step 3
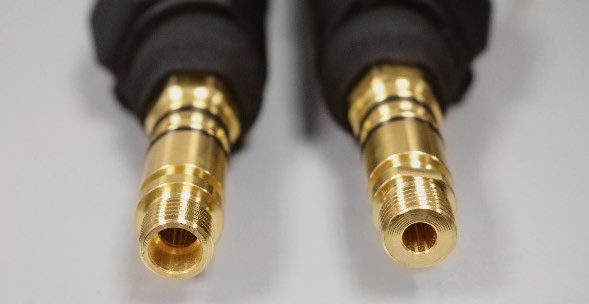
Power pin shown left:
If your power pin has a large ID, please contact Customer Support to obtain the proper AccuLock S Power Pin
Power pin shown right:
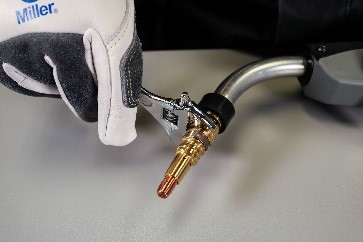
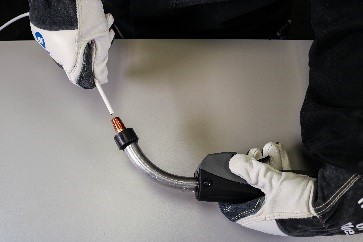
Torque to 10 ft-lbs /
120 in-lbs (13.5 Nm)
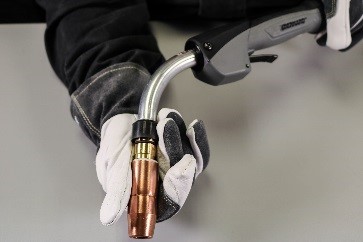
Step 4